

Colorado Springs Insurance Blog
Practical, plain-English insurance guidance for Colorado Springs families, military households, and local businesses — from the independent team at Main Street Insurance.

How to File a Hail Damage Claim in Colorado Springs: Step by Step
A step-by-step guide to filing a hail damage insurance claim in Colorado Springs — from inspection and adjuster meetings to repairs, supplements, and final payment, plus common mistakes to avoid.
COLORADO SPRINGS INSURANCE RESOURCE — UPDATED JULY 2026
Once you have safely documented the visible damage, here is what typically happens from the initial inspection through final payment.
Step 1: Schedule a Professional Inspection Before Filing
A qualified roofing contractor can assess whether the damage appears significant enough to support a claim. Depending on the carrier and how the inquiry is recorded, opening a claim may become part of your claims history even when no covered damage is ultimately found.
Before formally filing, review your deductible and consider obtaining a professional inspection so you can make a more informed decision.
Step 2: File a Claim With Your Insurance Provider
Contact your insurer to open the claim. Be prepared to provide:
The date and approximate time of the storm
A description of the visible damage
Photos, videos, or a contractor’s inspection report
Your policy number and contact information
The insurer will assign a claim number and schedule an adjuster inspection.
Step 3: Meet With the Insurance Adjuster
The adjuster will inspect the property and determine the scope of covered damage under the policy.
When permitted and practical, having a qualified roofing contractor present can help ensure visible damage and repair concerns are documented for the adjuster. The contractor does not decide coverage, but they can explain what they observed and identify areas that may require closer inspection.
Typical timing: Steps 2 and 3 often occur within one to three weeks of filing, although timelines may be longer after a major regional storm when adjusters are handling high claim volume.
Step 4: Review the Coverage Decision and Initial Payment
If the claim is approved, the insurer will provide an estimate and may issue an initial payment based on the policy terms.
For policies with replacement cost value, or RCV, coverage, the first payment often reflects the actual cash value of the damaged property. Recoverable depreciation may be released after repairs are completed and the required documentation is submitted.
Payment procedures vary by policy, carrier, mortgage company involvement, and the nature of the damage.
Step 5: Compare the Insurance Estimate With the Contractor’s Scope
Have your contractor review the insurer’s estimate against the work they believe is necessary.
If the estimate appears to omit covered items or does not reflect the full cost of the approved repairs, the contractor may submit a supplement. A supplement is a request for the insurer to review additional documentation and consider adjusting the claim estimate.
A supplement is not automatically approved, and all added work remains subject to the policy and the insurer’s review.
Step 6: Complete the Approved Repairs or Replacement
Choose a licensed, reputable contractor and carefully review the contract before work begins.
Colorado law prohibits roofing contractors from paying, waiving, rebating, or promising to pay a property owner’s insurance deductible. Be cautious of any contractor offering to “absorb” or eliminate your deductible, and verify any proposed arrangement before signing.
Keep copies of:
The signed contract
Invoices and receipts
Change orders
Photos of completed work
Product and warranty information
All claim-related correspondence
Step 7: Submit Completion Documentation and Receive Any Remaining Payment
After repairs are completed, submit the required invoices, receipts, photos, or completion documents to the insurer.
The insurer may conduct a final inspection. Once the work is verified and policy conditions are satisfied, the carrier may release any remaining recoverable depreciation or approved supplemental payments.
Typical timing: Steps 4 through 7 can take several weeks to several months depending on adjuster availability, the scope of work, contractor scheduling, mortgage-company requirements, and any disagreements about the estimate.
Common Mistakes That Can Delay, Reduce, or Complicate a Claim
Waiting Too Long to Document or Report the Damage
Waiting can make it harder to connect the damage to a specific storm. Your policy may also contain deadlines for notice, filing, repairs, or submitting replacement-cost documentation.
Document the damage promptly and review your policy’s requirements.
Filing Before Understanding the Damage and Deductible
If the damage is minor, cosmetic, excluded, or below your deductible, filing may not be financially beneficial. Depending on the carrier and how the matter is recorded, opening a claim may still become part of your claims history.
Consider reviewing the deductible and obtaining a professional inspection before formally filing.
Inspecting the Roof Yourself
Do not climb onto a hail-damaged roof. It may be unsafe, and walking on damaged materials can cause additional harm. Photograph what you can safely see from the ground and leave the roof inspection to a qualified professional.
Relying on Only One Estimate Without Reviewing the Scope
The insurance estimate and the contractor’s estimate may differ. Review the scope carefully and ask questions about missing or disputed items. Additional documentation may support a supplement or further review.
Assuming All Roof Damage Is Covered the Same Way
Roof coverage varies. Some policies provide replacement cost coverage, while others apply actual cash value, cosmetic-damage exclusions, material limitations, roof-payment schedules, or separate wind-and-hail deductibles.
Not Understanding a Percentage Deductible
Many Colorado policies use percentage-based wind-and-hail deductibles. The percentage is generally applied to the dwelling coverage limit, not the amount of the claim.
For example, a 2% deductible on a home insured for $500,000 would equal a $10,000 deductible.
Not Sure Where to Start?
Main Street Insurance - Patrick Murakami Agency helps Colorado Springs homeowners understand their policy before and after a storm, including their deductible, roof settlement terms, and whether filing may make financial sense.
GET A FREE COVERAGE REVIEW
Call 719-309-6439
insurancewithapurpose.com — BBB A+ Rated — Award-Winning Service — Serving Colorado Springs Since 2019
Before you file, make sure you have everything documented properly. See our companion guide: Hail Damage Documentation Checklist: What to Capture Before You File.
This guide is provided for educational purposes only and does not constitute legal advice, claims advice, or a guarantee of coverage or payment. Policy terms, exclusions, deductibles, deadlines, and claim procedures vary by carrier and individual contract. Review your policy and consult a licensed insurance professional for guidance specific to your situation.
© 2026 Main Street Insurance - Patrick Murakami Agency
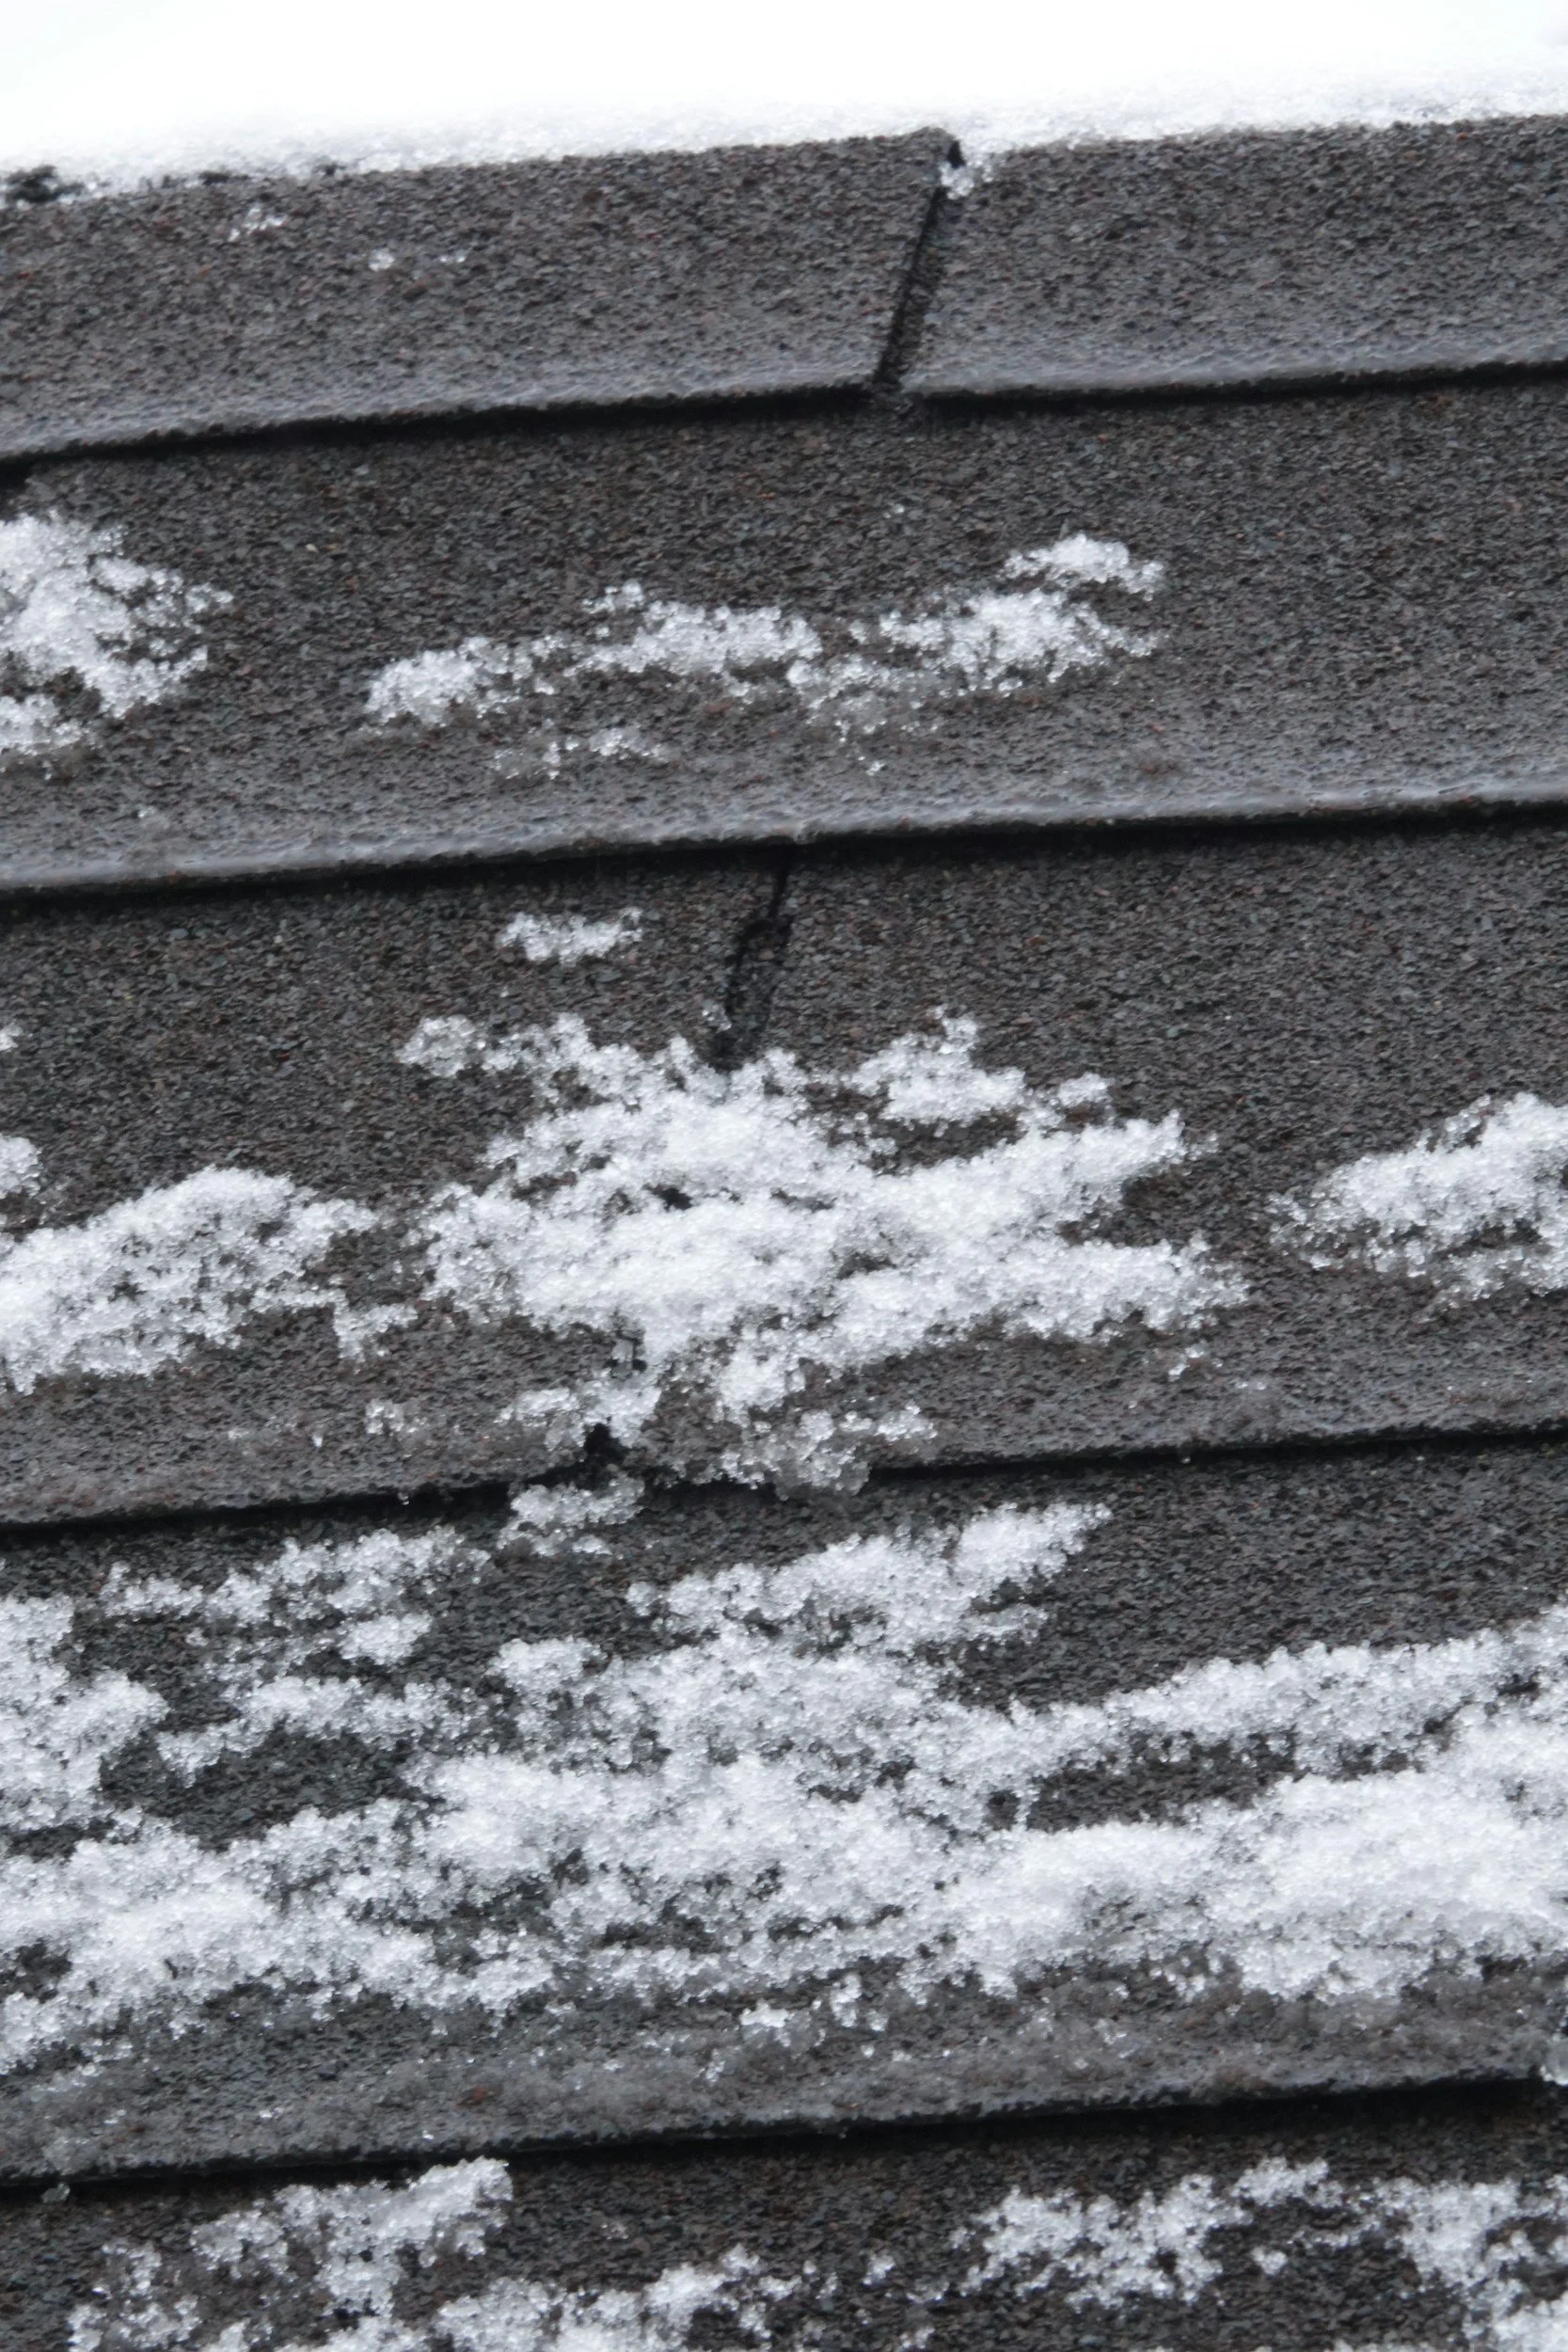
Hail Damage Documentation Checklist: What to Capture Before You File
COLORADO SPRINGS INSURANCE RESOURCE — UPDATED JULY 2026
Strong documentation can help establish when the damage occurred, show the condition of your property, and make the claim process easier to navigate.
Use this checklist after a storm and before formally filing a claim. Always put safety first.
Step 1: Record the Storm Date and Details
Note the exact date and approximate time of the hailstorm
Record the approximate hailstone size using a common object, such as a coin or ball, for scale
Save local news reports, National Weather Service alerts, or other weather records confirming the storm
Write down when you first noticed the damage
Note whether wind, rain, or interior leaking occurred during or after the storm
Step 2: Photograph All Visible Damage Safely
Take wide photos of all sides of the home from the ground
Capture close-up images of visible damage to siding, gutters, downspouts, vents, skylights, windows, or exterior fixtures
Photograph granule accumulation near downspout exits or in accessible gutter areas
Document damage to vehicles, fencing, outdoor furniture, air-conditioning units, sheds, or other structures
Take photos from multiple angles when possible
Preserve the original files so the date and location metadata remain available
Record short videos if they help show the overall condition of the property
Do not climb onto your roof to inspect or photograph it. A hail-damaged roof may be unsafe, and walking on damaged materials can cause additional harm. Document what you can safely see from the ground or through a window and leave the roof inspection to a qualified professional.
Step 3: Schedule a Professional Roof Inspection
Contact a licensed, reputable roofing contractor
Ask whether the contractor has experience documenting storm damage
Confirm whether they will provide a written report with photos
Ask whether they can explain which areas appear damaged and which do not
Ask whether they are available to attend the adjuster’s inspection, if permitted and useful
Avoid signing an assignment, contingency agreement, or repair contract until you understand the terms
A qualified inspector can identify damage that may not be visible from the ground. Insurers may evaluate test squares, individual roof slopes, roofing materials, functional damage, repairability, and policy requirements when deciding whether repair or replacement is warranted.
Standards and coverage decisions vary by carrier, roof type, and policy.
Step 4: Prevent Additional Damage
Most policies require the insured to take reasonable steps to protect the property from further damage.
Address active leaks or exposed areas as soon as it is safe to do so
Use temporary measures such as tarps or water mitigation when necessary
Photograph the area before and after temporary repairs
Keep damaged materials when practical until the insurer has had an opportunity to inspect
Do not make permanent repairs before the insurer’s inspection unless emergency conditions require them
Step 5: Save All Receipts and Correspondence
Keep every email, letter, and claim-related document
Save receipts for temporary repairs, tarps, water mitigation, emergency lodging, or other storm-related expenses
Record the date, time, name, and contact information for every person you speak with
Keep a written log of phone calls and important conversations
Save contractor estimates, inspection reports, and photographs
Store copies in more than one place, such as cloud storage and a local folder
Some reasonable emergency expenses may be reimbursable if the loss is covered, but reimbursement depends on the policy and carrier review.
Step 6: Review Your Declarations Page and Policy Before Filing
Before contacting the insurer, review the policy documents you have available.
Is the wind-and-hail deductible a flat dollar amount or a percentage of the dwelling coverage limit?
Is the roof settled at replacement cost value, or RCV, or actual cash value, or ACV?
Does the policy contain a roof-payment schedule?
Are there cosmetic-damage exclusions or limitations?
Are there special limitations based on roof age or roofing material?
What are the dwelling and other-structures coverage limits?
Does the policy include ordinance-or-law coverage?
Are there deadlines for reporting the loss, completing repairs, or claiming recoverable depreciation?
Does a mortgage company need to be included on claim payments?
Step 7: Organize the Claim File
Create one folder for all claim-related material.
Suggested sections include:
Policy and declarations page
Storm records
Photos and videos
Contractor inspection report
Claim number and adjuster information
Insurance estimates
Contractor estimates
Receipts and invoices
Supplements and revised estimates
Completion documents and warranties
Important Filing Deadline Reminder
Your policy controls the applicable notice, filing, repair, and documentation deadlines.
Some policies require notice or claim filing within a specific period after the loss. Others contain separate deadlines for completing repairs or submitting replacement-cost documentation.
Do not assume that a general legal limitation period extends a deadline written into the insurance policy. Review the policy and act promptly.
After a major storm, adjusters and contractors may be overwhelmed. Early documentation can make it easier to connect the damage to the correct storm and avoid unnecessary delays.
Ready to File?
Once you have completed the checklist, the next step is to contact your insurer and work through the adjuster process.
See our companion guide: How to File a Hail Damage Claim in Colorado Springs: Step by Step.
Have Questions Before You File?
Main Street Insurance - Patrick Murakami Agency helps Colorado Springs homeowners understand their policy, deductible, roof settlement terms, and options before and after a storm.
GET A FREE COVERAGE REVIEW
Call 719-309-6439
insurancewithapurpose.com — BBB A+ Rated — Award-Winning Service — Serving Colorado Springs Since 2019
This checklist is provided for educational purposes only and does not constitute legal advice, claims advice, or a guarantee of coverage or payment. Policy terms, exclusions, deductibles, deadlines, and claim procedures vary by carrier and individual contract. Review your policy and consult a licensed insurance professional for guidance specific to your situation.
© 2026 Main Street Insurance - Patrick Murakami Agency